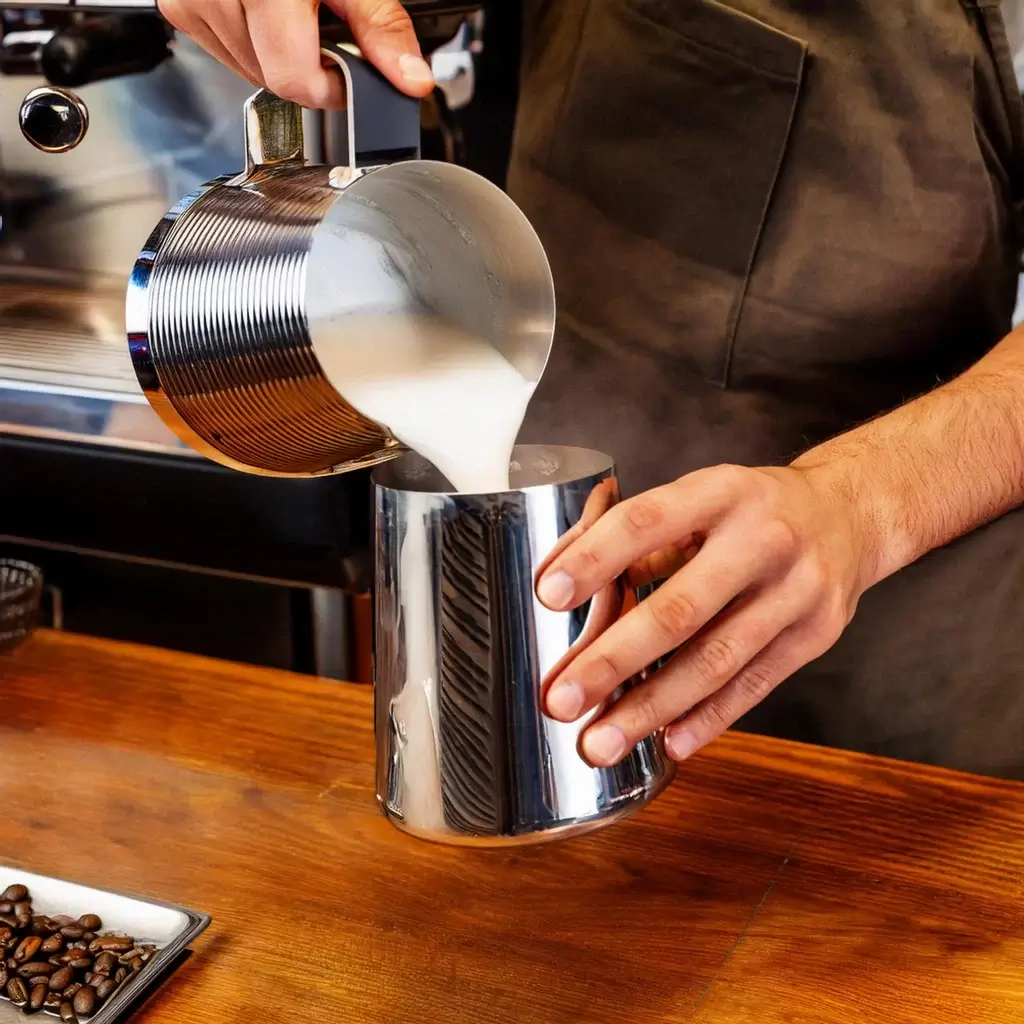
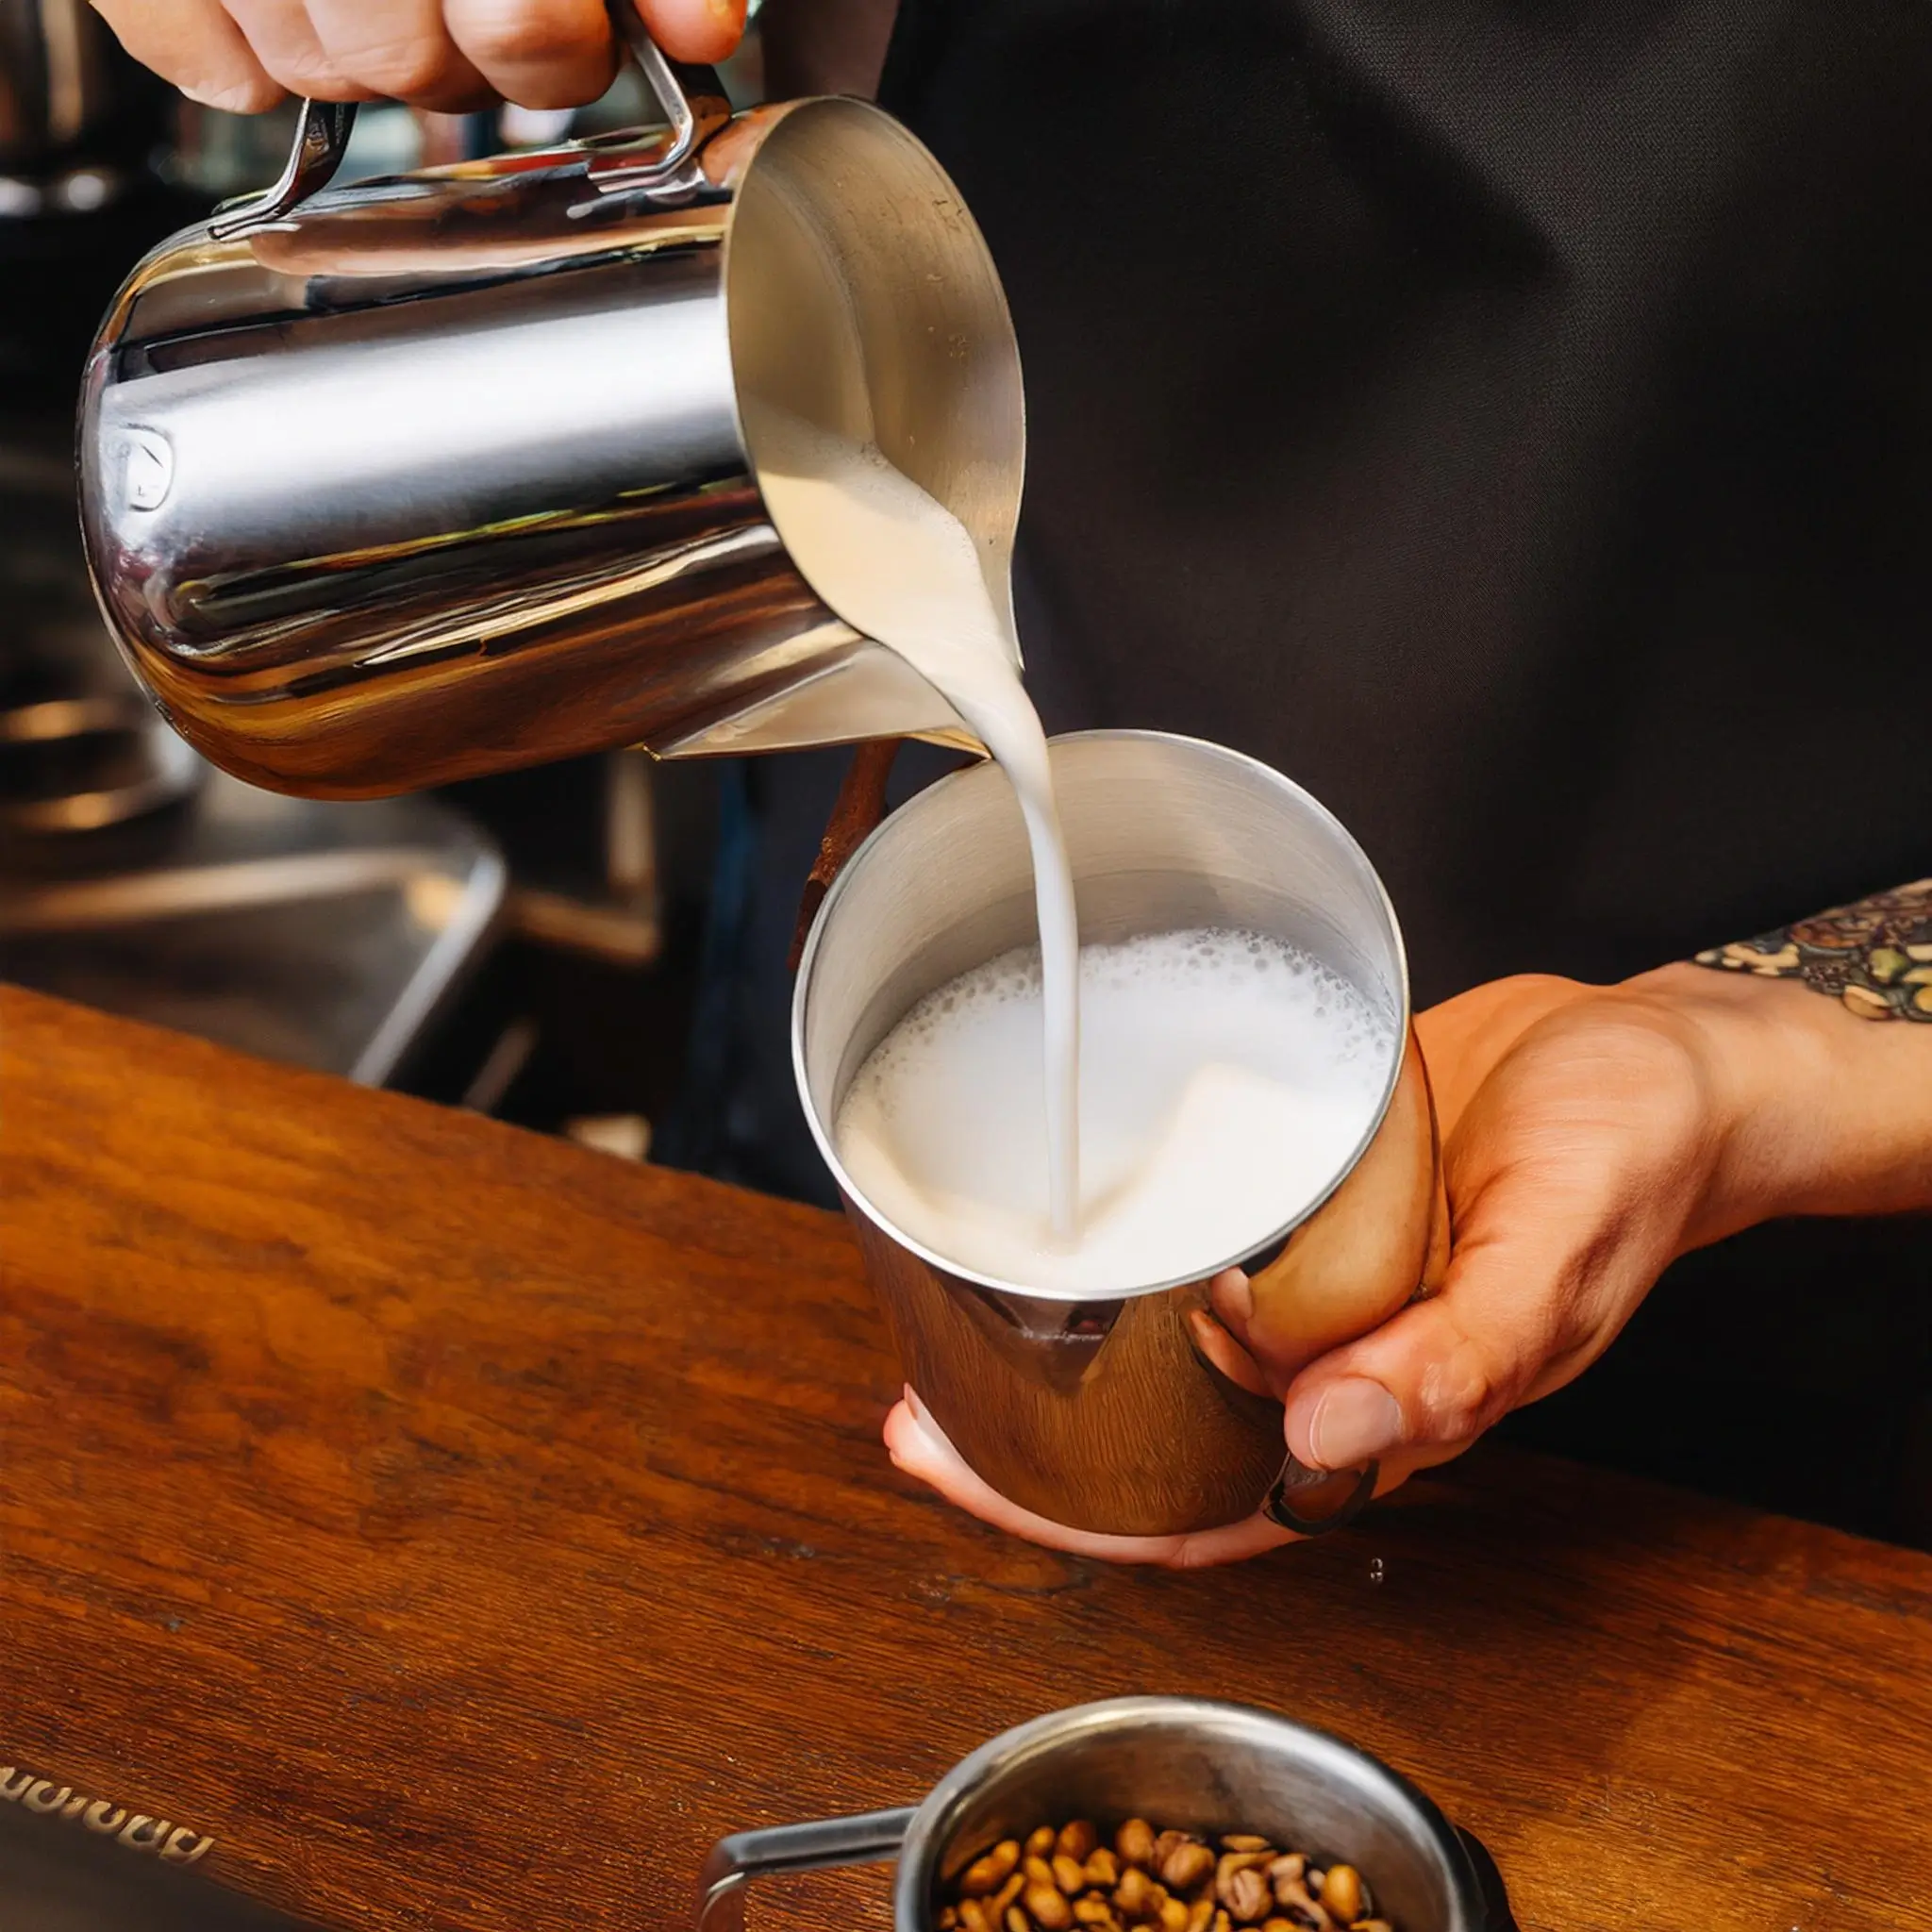
There’s something undeniably delightful about a perfectly crafted cup of coffee topped with a generous layer of frothy milk. Whether it’s a creamy cappuccino, a velvety latte, or a whimsical macchiato, frothy milk elevates your coffee experience to new heights, transforming an ordinary brew into a luxurious indulgence. But what if you could create that café-quality froth right in the comfort of your own kitchen?
Choosing the Right Type of Milk
When it comes to making frothy milk, the type of milk you choose plays a pivotal role in achieving that creamy, velvety texture we all crave for our lattes and cappuccinos. Not all milks are created equal in this regard, and understanding the differences can elevate your frothing game significantly.
Whole Milk
Whole milk is often the go-to choice for baristas and home coffee enthusiasts alike. Its higher fat content, around 3.5% creates a rich and creamy foam that holds its shape beautifully. This milk produces a luxurious froth that is ideal for those who enjoy a thick layer of foam atop their beverages.
Skim Milk
For those who prefer a lighter option, Skim Milk is a popular choice. While it froths more easily due to its lower fat content, the foam tends to be less stable and can dissipate quickly. However, if you’re looking for something airy and frothy, skim milk can still create delightful microfoam that works well in macchiatos and iced coffees.
Non-Dairy Alternatives
Non-dairy alternatives have surged in popularity, and they come in a variety of options, such as almond, soy, oat, and coconut milk. Among these, Oat Milk has become a favorite for frothing, thanks to its creamy texture and natural sweetness. It froths exceptionally well and holds its shape, making it an excellent choice for vegan or lactose-free drinks. Soy Milk also performs admirably but can sometimes curdle if heated too quickly, so it’s essential to froth it gently.
Essential Tools for Frothing Milk And Best Milk Frothing Pitchers

When it comes to making the perfect frothy milk, having the right tools on hand is essential for achieving that café-quality texture and flavor. The foundation of any frothing process begins with a good milk frother, which can either be handheld or electric. Handheld frothers are typically more affordable and portable, making them a great choice for those who froth infrequently. Electric frothers, on the other hand, provide a more consistent froth and often come with various settings for different frothing styles.
In addition to a frother, a high-quality milk frothing pitcher is crucial for controlling the frothing process. The best frothing pitchers are made of stainless steel, which not only conducts heat effectively but also offers durability and ease of cleaning. Look for pitchers with a spout designed for latte art; a pointed or elongated spout allows for greater precision when pouring, enabling you to create beautiful designs with your frothed milk.
What Is The Best Way To Froth Milk?
The best way to froth milk often depends on the tools you have at your disposal and your personal preferences. One popular method is using an electric milk frother, which can create café-quality froth with minimal effort. Simply pour cold or warm milk into the frother, select the desired frothing option, and let the machine do the work.
For those who enjoy a more hands-on approach, a French press can be an effective tool. Start by heating your milk gently on the stove or in the microwave, then pour it into the French press, filling it no more than halfway. Secure the lid and pump the plunger up and down vigorously for about 30 seconds. The trapped air will create a delightful froth, perfect for lattes or cappuccinos.
If you prefer a classic method, using a whisk can be both enjoyable and effective. Heat your milk and then whisk it vigorously in a bowl until it forms a frothy consistency.
How To Froth Milk Without Frother?
- Jar Method: One of the simplest ways to froth milk is by using a glass jar with a tight-fitting lid. Start by pouring your desired amount of milk into the jar—about halfway full to allow room for froth. Secure the lid tightly, then shake the jar vigorously for about 30 seconds. You’ll notice the milk expanding and becoming frothy. Once you’ve achieved your desired foam, remove the lid and microwave the jar for about 30 seconds to stabilize the froth. Just be cautious when opening, as the steam can escape rapidly!
- Whisk Method: If you prefer a bit more control, grab a whisk—either a handheld whisk or a balloon whisk will do. Heat your milk in a saucepan on the stove until it’s hot but not boiling. Using the whisk, vigorously whisk the milk in a circular motion. This incorporates air into the milk, creating a lovely frothy texture. This method may take a little longer, but the workout is worth the outcome!
- Blender Method: For those who want to whip up a larger batch of frothed milk, a blender can be your best friend. Pour the heated milk into a blender (don’t fill it too high to allow for froth), and blend on a low setting for 30-60 seconds. The blades will create air bubbles, resulting in a creamy foam. Just be sure to cover the top with a kitchen towel to prevent any hot milk splatter!
- French Press Method: If you have a French press sitting in your kitchen, it can double as a milk frother! Heat your milk and pour it into the French press, filling it only halfway. Place the lid on and pump the plunger up and down rapidly for about 30 seconds. As the milk froths and expands, you’ll see the transformation right before your eyes. Once frothy, pour it over your coffee or hot beverage of choice.
Can You Whisk Milk To Make It Frothy?
Absolutely, you can whisk milk to create a frothy texture, and it’s a fun and accessible method for those who don’t have a frother or steam wand at hand. Whisking, whether by hand or with an electric mixer, introduces air bubbles into the milk, transforming it into a light, airy foam that’s perfect for topping off your favorite coffee or hot chocolate.
Coffee Recipes Featuring Frothy Milk
- Cappuccino Delight: A classic favorite, the cappuccino combines equal parts of espresso, steamed milk, and a lush layer of frothed milk. Top it off with a sprinkle of cocoa powder or cinnamon for an aromatic finish. You can even infuse the steamed milk with flavored syrups, such as vanilla or hazelnut, to add a unique twist.
- Vanilla Lavender Latte: For a soothing and fragrant beverage, try a vanilla lavender latte. Brew a shot of espresso and steam your milk with a few drops of lavender extract and a tablespoon of vanilla syrup. The result is a beautifully layered drink with a hint of floral notes, finished with a frothy crown.
- Matcha Green Tea Latte: If you’re in the mood for something different, a matcha green tea latte is an excellent choice. Whisk together matcha powder with hot water to create a smooth paste, then pour in steamed milk and top with frothy milk. Sweeten with honey or agave syrup to balance the earthy flavors of matcha.
- Spiced Chai Latte: Combine the warmth of chai spices with the creaminess of frothy milk to make a comforting spiced chai latte. Brew your favorite chai tea, add steamed milk, and finish it off with a generous dollop of frothed milk. Sprinkle with cinnamon or nutmeg for an extra touch of spice.
- Iced Caramel Macchiato: On a warm day, treat yourself to an iced caramel macchiato. Start by layering ice in a glass, pouring chilled milk over it, and then adding a shot of espresso on top. Drizzle with caramel sauce and finish with a fluffy layer of frothed milk for a refreshing, sweet sip.
How To Use A Milk Frother?
Once you have your milk ready, pour it into a small container, leaving enough space for the milk to expand as it froths. If you’re using an electric milk frother, simply submerge the frothing whisk into the milk and turn it on. Move the frother up and down gently to incorporate air into the milk, creating a velvety, frothy texture. Once your milk is frothed to perfection, gently pour it over your coffee or hot beverage, and watch the beautiful layers form. You can even create simple latte art with a little practice!
Cleaning Milk Steaming Pitchers
Cleaning milk steaming pitchers is an essential step in maintaining the quality of your frothy milk creations and ensuring that your equipment remains in top condition. After a session of steaming and frothing, milk residue can accumulate inside the pitcher, leading to unwanted flavors and potential hygiene issues. To keep your pitcher pristine and ready for your next coffee adventure, follow these simple yet effective cleaning tips.
Start by rinsing the pitcher with warm water immediately after use, as this helps to remove most of the milk residue before it has a chance to dry and adhere to the surfaces. For a more thorough clean, fill the pitcher with hot water and a small drop of dish soap. Use a soft sponge or cloth to gently scrub the interior and exterior, paying close attention to the spout and the area around the steam wand, where milk can easily become trapped.
Once you’ve scrubbed away the residue, rinse the pitcher thoroughly with clean water to remove any soap residue. Make sure to check for any stubborn spots or buildup, repeating the cleaning process if necessary. For an extra level of sanitation, you can immerse the pitcher in hot, soapy water and let it soak for a few minutes before rinsing.
After cleaning, dry your milk steaming pitcher with a soft cloth or let it air dry upside down to prevent water spots. Regular maintenance not only keeps your pitcher looking great but also ensures that every cup of frothed milk tastes as delicious as the last.
